Markers
Chart Markers
ZingChart markers can be used to mark a value or region of values on your scales. Markers are useful for showing reference values, margins of error, active regions, and more! This guide demonstrates how to add both line markers (for a single value) and area markers (for a range of values).
Overview
ZingChart offers a core set of features for creating line markers or area markers. This is briefly covered in our scales doc. Our syntax name of markers is not a standardized term in charting, and you might be familiar with the terminology of plot bands and plot lines, line guides and range guides, or line annotations and range annotations.
Regardless of the terminology you might be familiar with, ZingChart gives you the ability to configure line markers and/or range markers which can be used to indicate a certain value, range, or threshold which you may want to indicate on a chart. It is also very common for chart developers to want to draw a trendline to show trends in data. This too can be done with this feature set.
Below, we will show you the simple syntax for creating a marker using our JSON syntax and associating it to the data on your scales. In ZingChart fashion, you can also customize the look of the markers, associate labels, draw markers dynamically, etc.
Basics
The first step to creating chart markers is to associate the marker to one of your scales. In a simple bar chart, this would be scaleX or scaleY. If you draw a marker on scaleX, it will run vertically to indicate a particular place or a range on the x-axis. If you draw a marker on scaleY, it will run horizontally.
To create markers, first add a scale object. In this case:
scaleY: {}
Then, within scaleY: {} include a markers: [] array.
scaleY: {
    markers: [
        {
            // empty object for now
        }
    ]
}
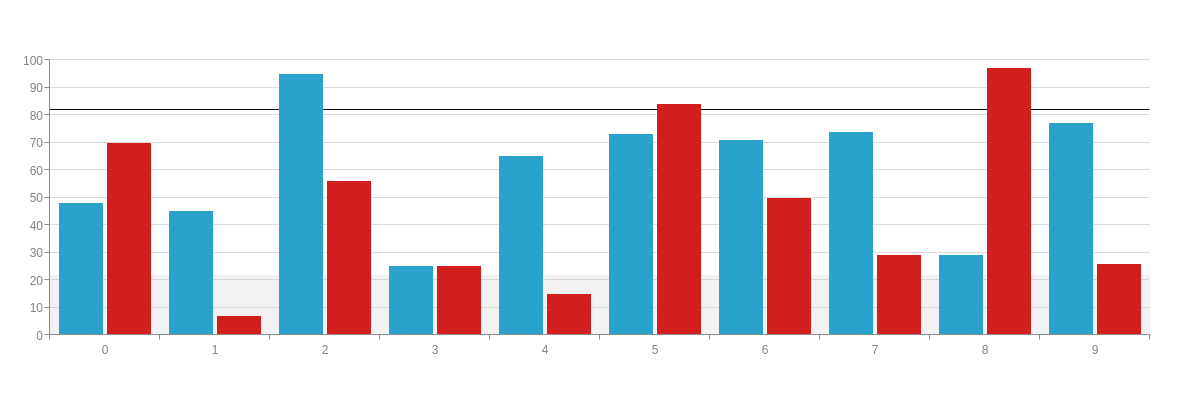
Markers is an array since you might want to associate more than one marker to a particular scale. The markers: [] array will hold one or more objects which you will use to define your type: " , range: [], and any styling attributes. In the demo below, you can see we created two different markers: one line marker and one area marker.
Creating a marker associated to scaleY: {} is very common.
ScaleY Demo
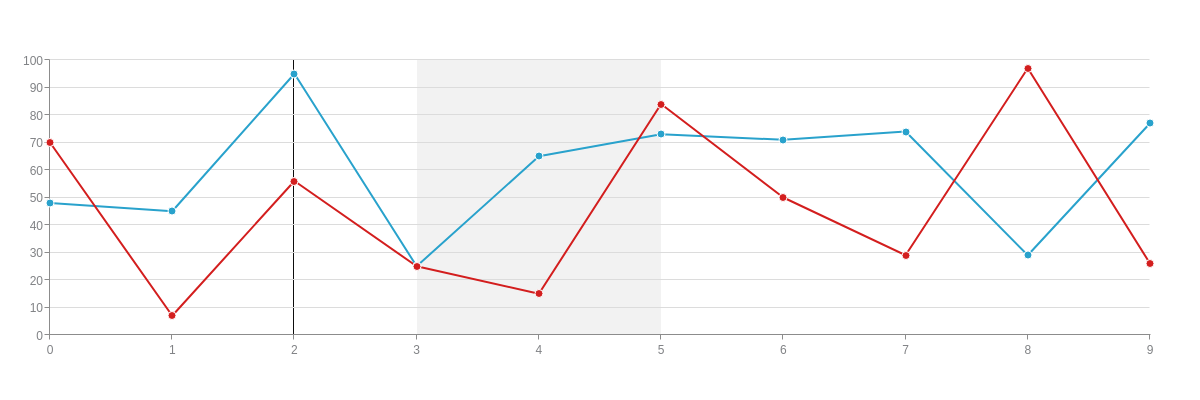
If you wanted to create a marker associated to scaleX: {}, you could of course do that as well.
ScaleX Demo
You could also create a marker on a chart that uses scaleR: {}. The implementation is the same. This would be common on a chart such as a gauge.
ScaleR Demo

Markers for Time Data
Note: If you are not already using time series data, visit our scales doc.
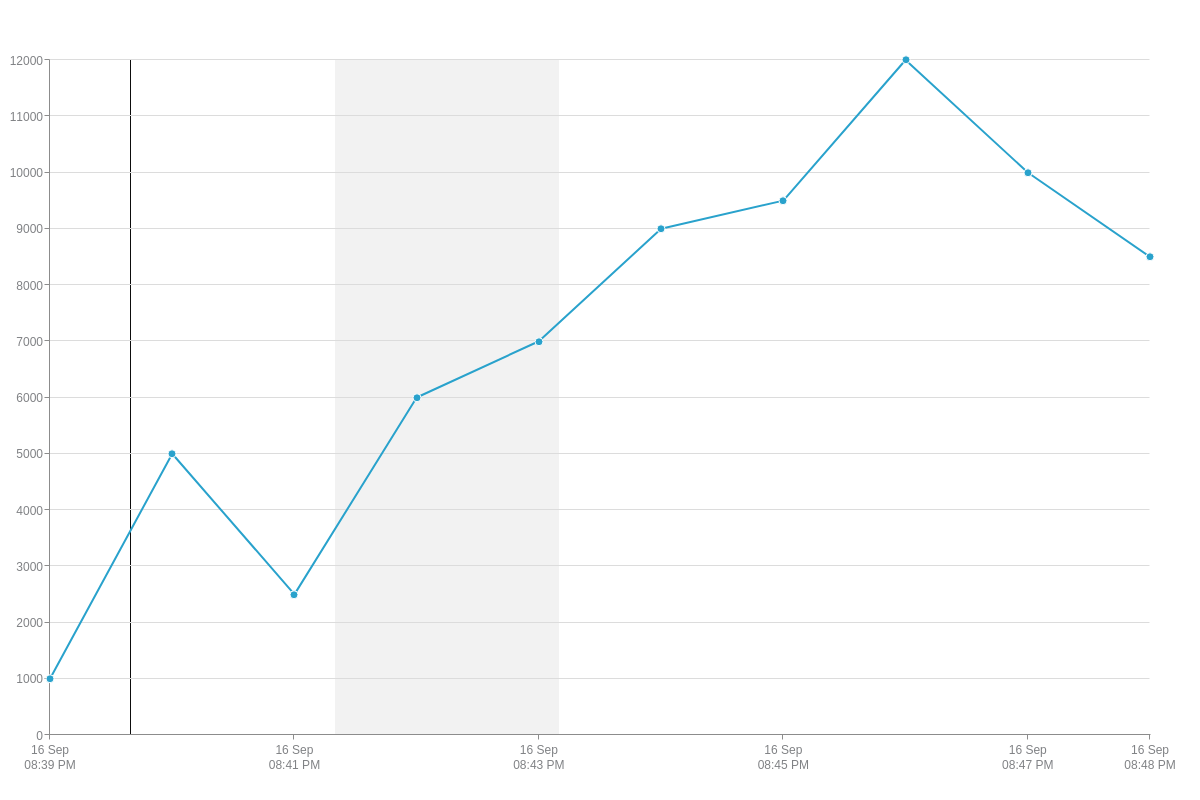
In many cases, you may want to create a marker (likely on scaleX: {}) which is associated to a timestamp. This is very similar to above except you include a unix timestamp in milliseconds for your range: [] and you need to set valueRange: true.
Demo
Markers for Multiple Scales
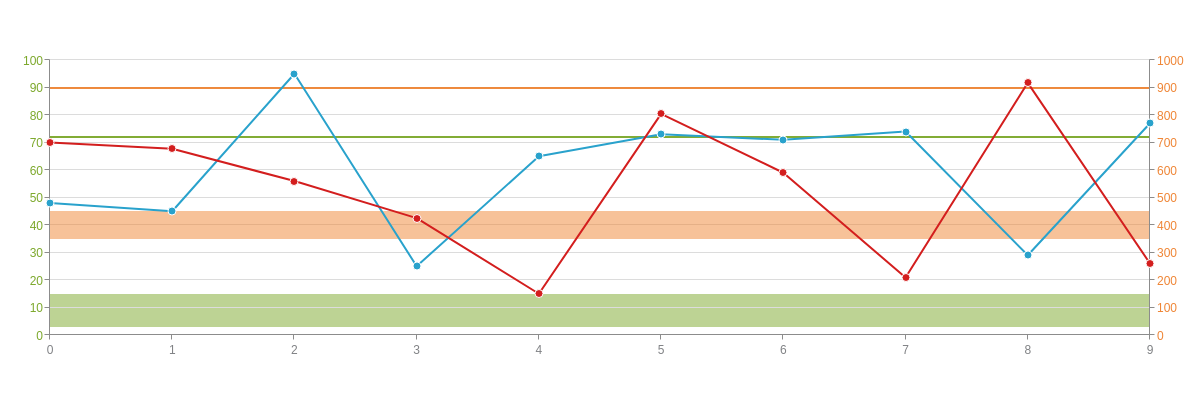
You can also use markers on multiple scales if that is a requirement. You can find details on setting multiple scales in our scales doc. Once you have properly defined your multiple scales and associated your series data to the appropriate scales, you can then define your markers. This will work the same as before. Associate your marker: [] array to the scale you wish to show a marker on and define your object with your type: " and range: []. Then, you are all set.
Note: In the demo below, we also added some styling to help show what marker is associated to what scale.
Demo
Adding Labels
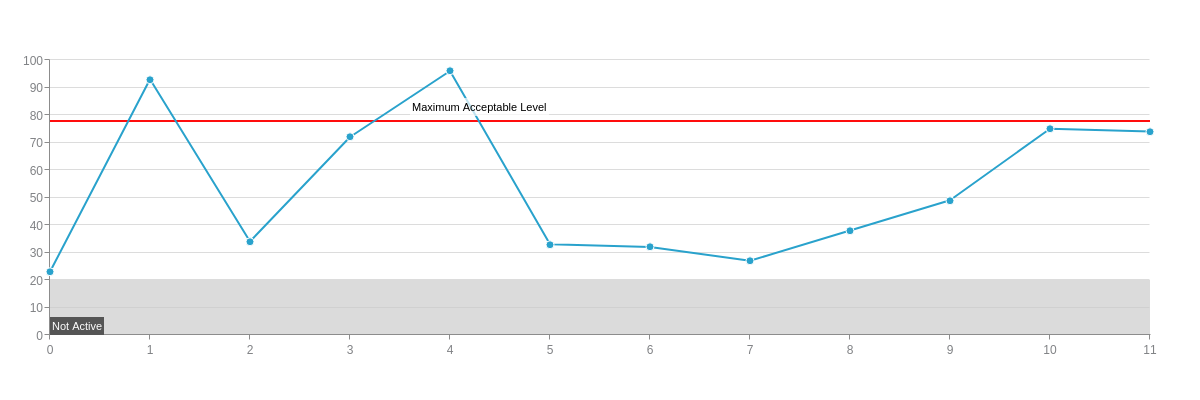
Since many times your markers indicate an event, threshold, or other piece of data, you can also easily associate a label to your markers. If you are not familiar with labels in ZingChart, you might be interested in our labels doc.
In the case of a marker, it is easy to add a label associated to the marker. Simply add a label: {} object nested inside of your marker. You can then define text, styling, and fontAngle.
Demo
Styling Markers
The demos above simply show the most basic implementation of markers. The nature of markers is generally to show or annotate a chart. You likely will want to style the markers to help associate it with certain data, positive or negative outcomes, or possibly to show past or future time. All of this is possible. For a full reference of styling, you can look to our marker JSON Attributes.
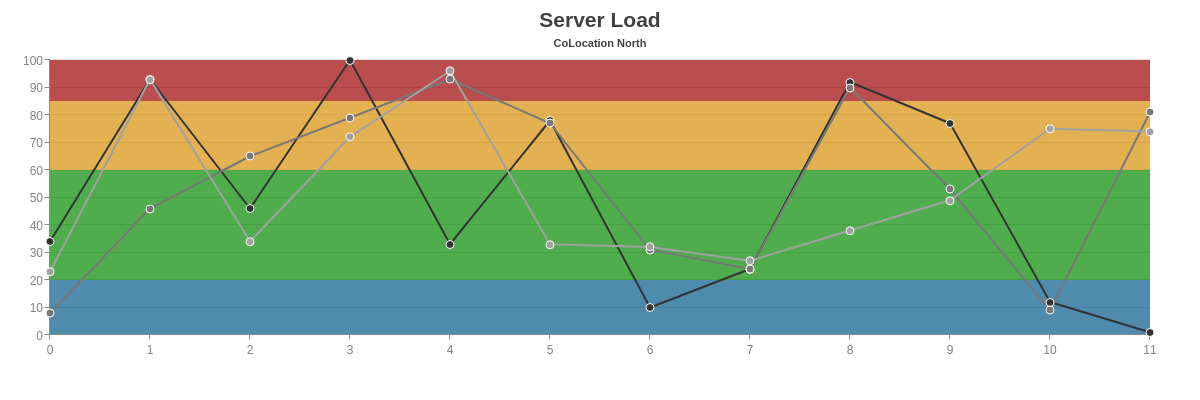
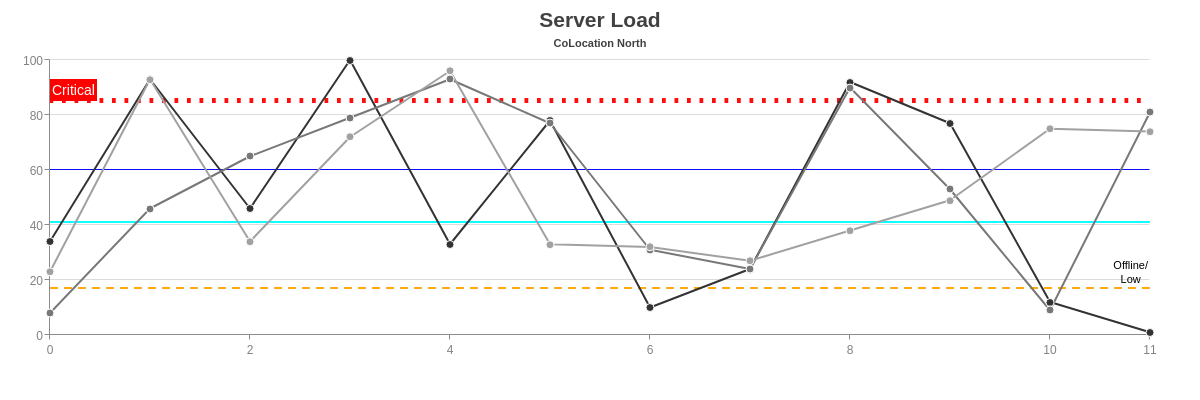
You can style markers just like everything else in ZingChart. Change line and background colors, change transparency, modify the line style, etc. To add style to a marker, simply include the appropriate JSON attribute inside of the object you wish to style. Let's get an example of full range coverage.
Area Marker Demo
Line Marker Demo
API and Markers
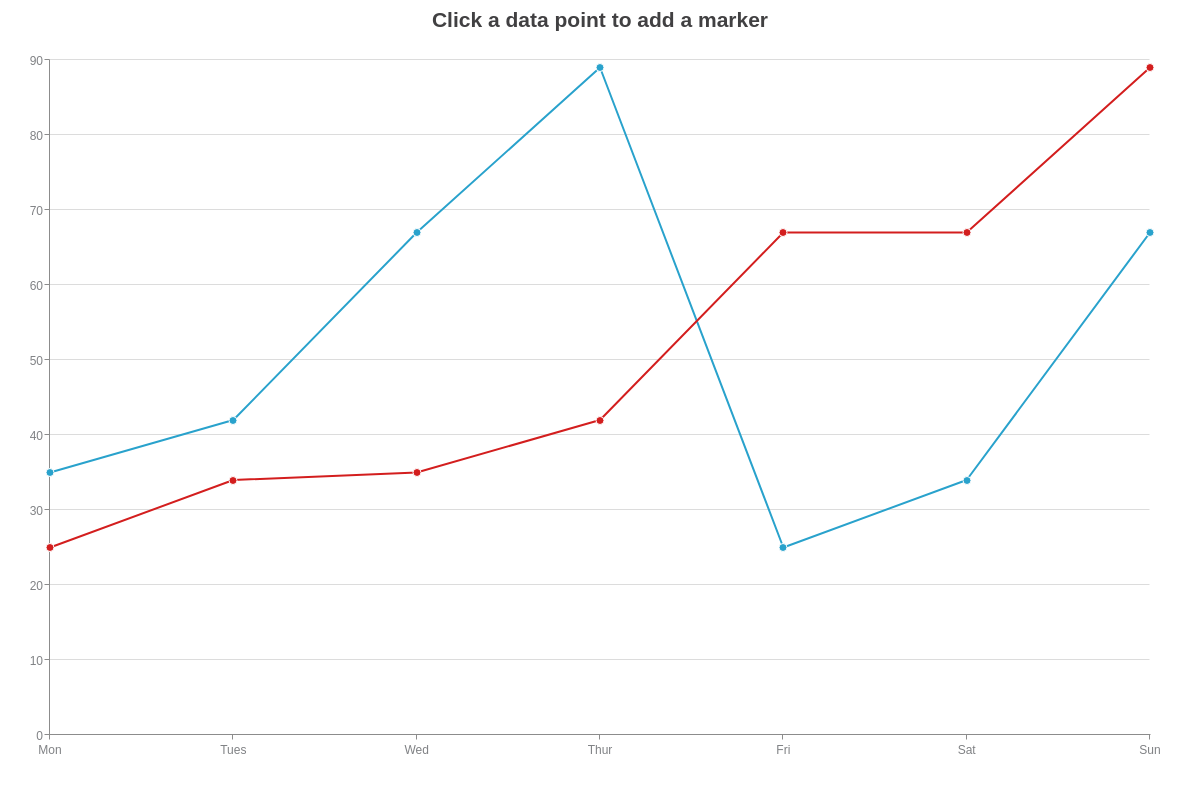
A practical use of markers involves the use of our API. You can dynamically add markers based on user interactions. For example, one might find it valuable to click on a node to add a marker there.
To add a marker when clicking on a node, you must first register our node_click event.
zingchart.bind('myChart', 'node_click', function() {});
You can render new markers with our set_data method. The only caveat is that you must keep a global array of markers since we do not allow users to update indices of markers in the current scale markers array.
Simple node_click and add marker
Next, you may want to create a marker with a label. Since markers do allow labels, check out the following demo.
Simple node_click + label text
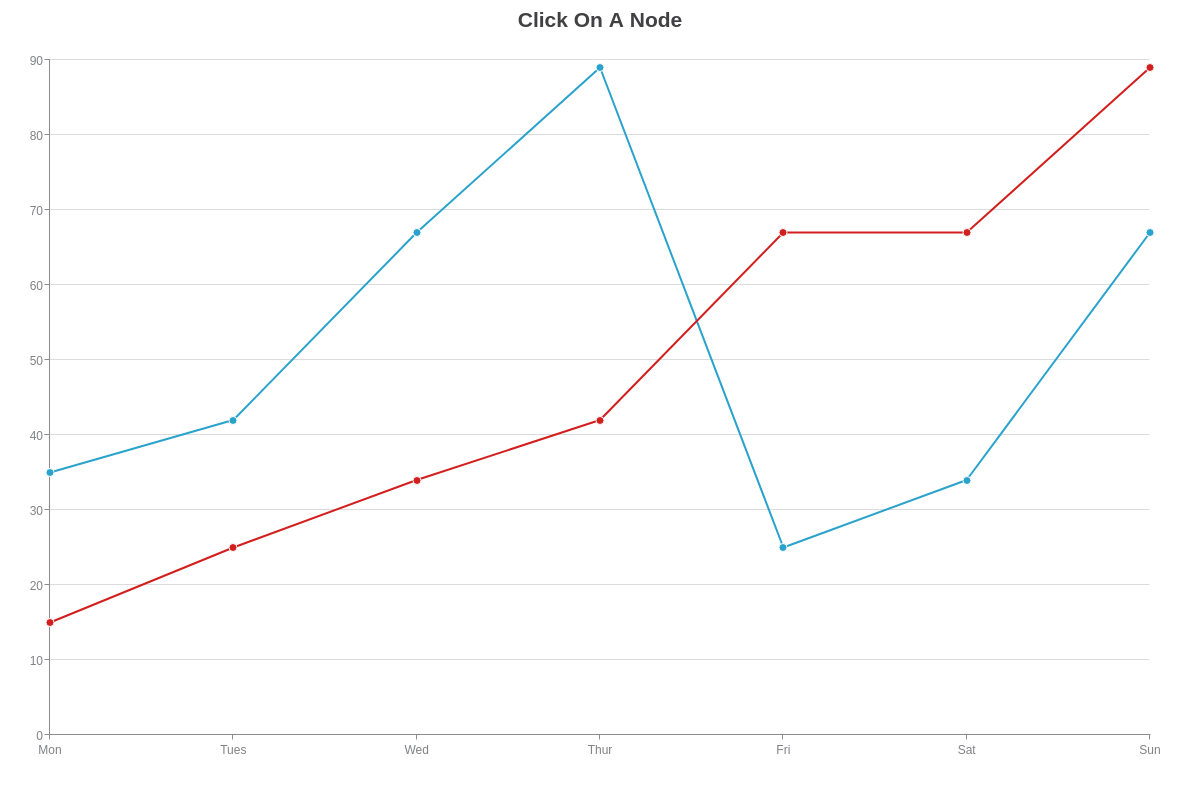
Ideally, you would want to take user input on these interactions, so another demo we have here is a comprehensive idea of how to combine all these concepts.
User input demo
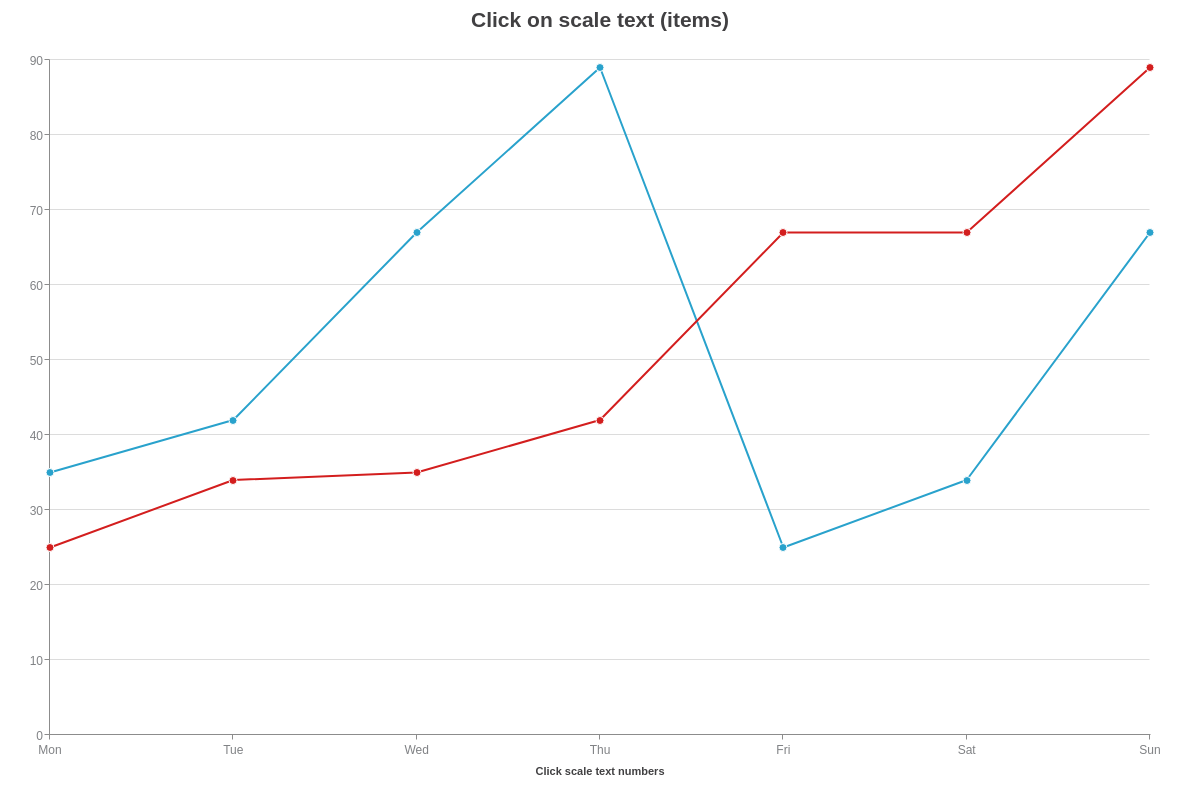
Finally, the API is not limited to just ZingChart. You can create your own events to accomplish what you want with a little bit of JavaScript. Scale markers do not register events like other shapes in the ZingChart library. This is because they are drawn on a different SVG group so they can appear behind other items. This may be a pitfall of the library, but have no fear we can still get around it with a little code.
Dragging
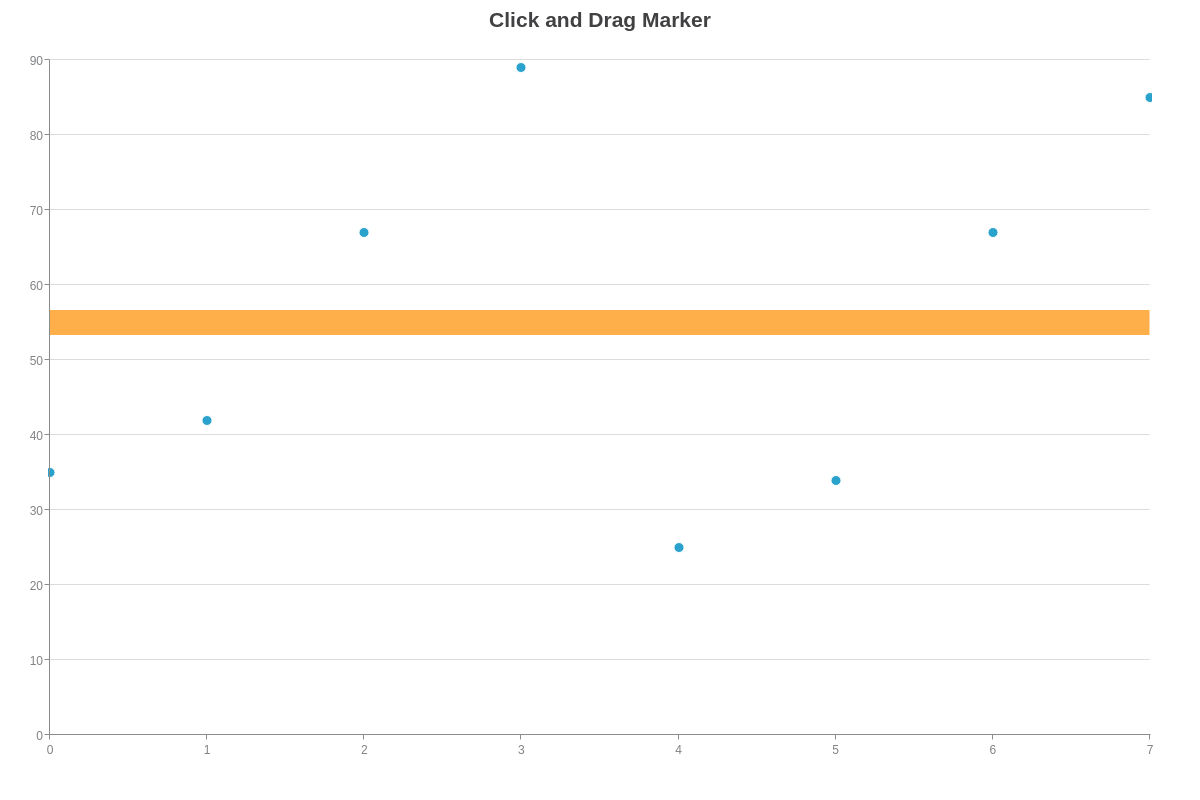
Refer to the Highlight-State JSON Attributes/Syntax page and Highlight-Marker JSON Attributes/Syntax page for more attribute options.
Summary
Scale markers allow you to highlight a single or range of values on any of your axes. This is useful for setting reference values or drawing users' attention to specific nodes.
For a full list of marker attributes, see the JSON configuration page.